Email: sales@telsto.cn
 Telephone: 86-021-6221 2832
 LinkedIn
 Youtube
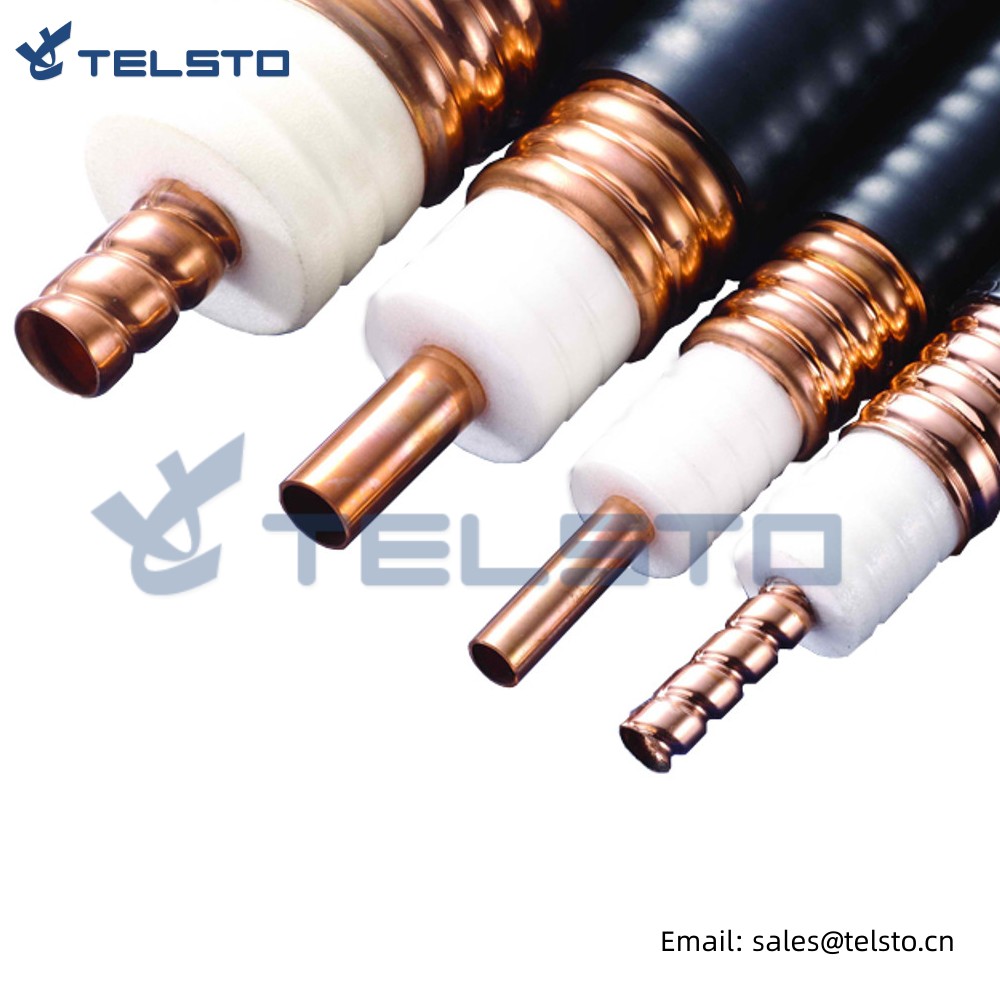

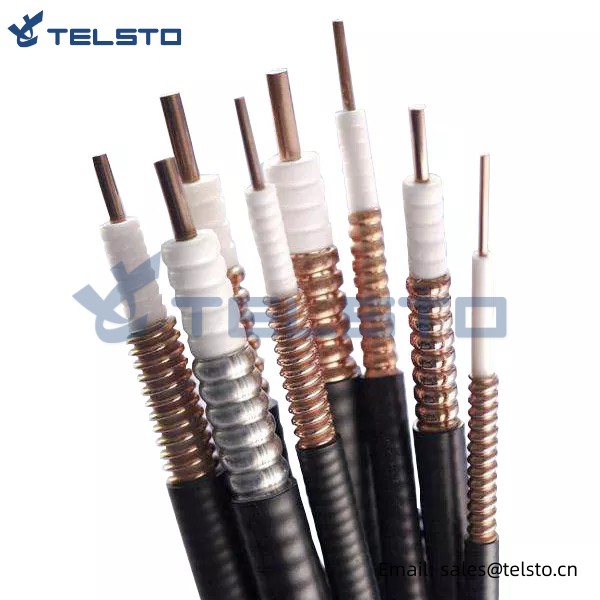
Telsto Brand Feeder cable RF5012
* The high performance of attenuation allows coaxial cable to be used in different RF system such as 3G, 4G mobile communication.
* Wide range of application such as indoor distribution, broadcast, various base station, wireless cellular, etc.
* Lower VSWR, perfect shielding effectiveness and extraordinary inter-modulation performance lead to fewer energy loss and outer interference.
| Product | Description | Part No. |
| Feeder Cable | 1/4'' SUPERFLEXIBLE COAXIAL CABLE | RF-50-1/4" |
| 3/8'' SUPERFLEXIBLE COAXIAL CABLE | RF-50-3/8" | |
| 1/2'' STANDARD(FLEXIBLE) COAXIAL CABLE | RF-50-1/2" | |
| 1/2'' SUPERFLEXIBLE COAXIAL CABLE | RF-50-1/2"S | |
| 7/8" STANDARD(FLEXIBLE) COAXIAL CABLE | RF-50-7/8'' | |
| 7/8" LOW LOSS FLEXIBLE COAXIAL CABLE | RF-50-7/8L'' | |
| 1-1/4'' STANDARD(FLEXIBLE) COAXIAL CABLE | RF-50-1-1/4'' | |
| 1-5/8'' STANDARD(FLEXIBLE) COAXIAL CABLE | RF-50-1-5/8'' |
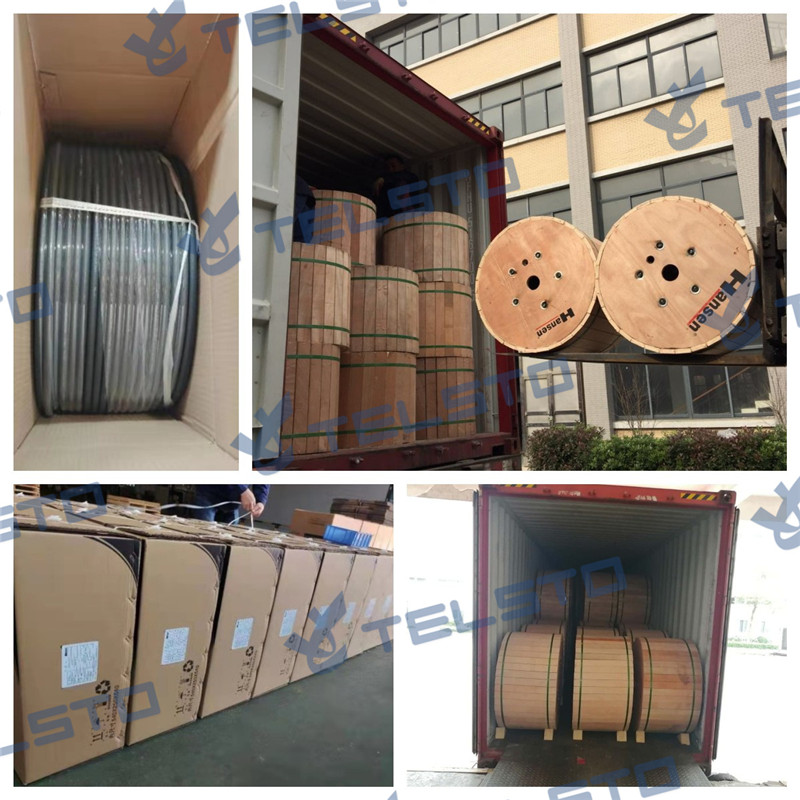
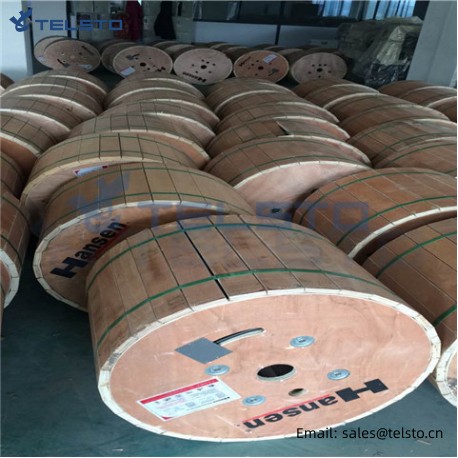
Packing Reference
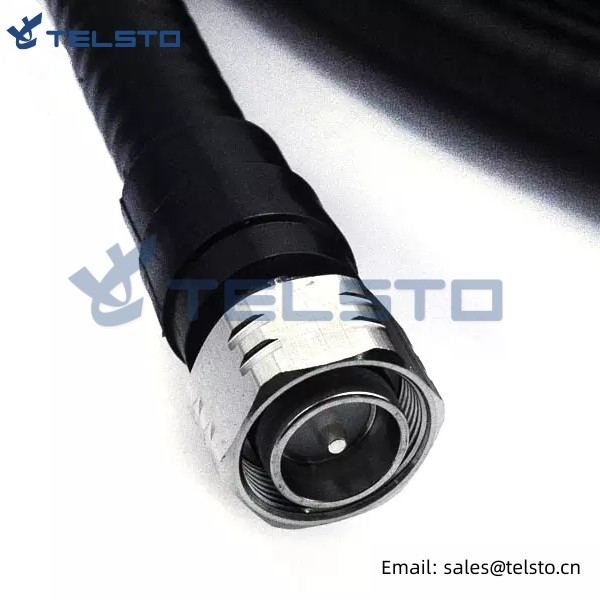
Installation Instructions of N or 7 / 16 or 4310 1 / 2″ super flexible cable
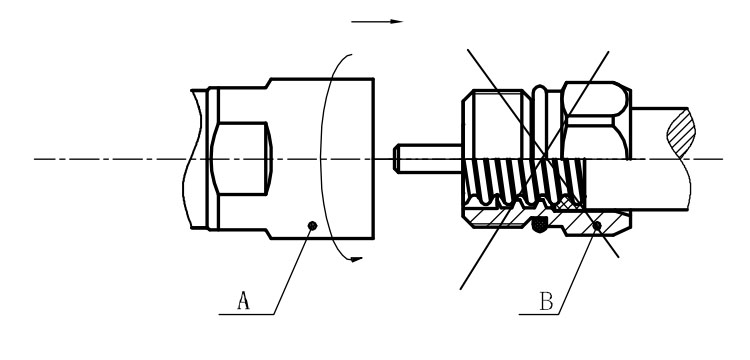
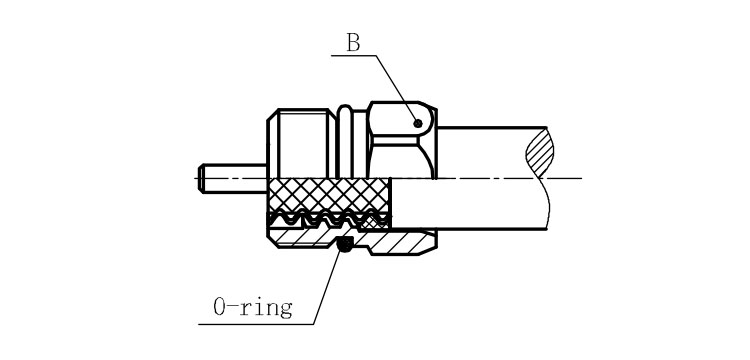
Structure of connector: ( Fig1 )
A. front nut
B. back nut
C. gasket

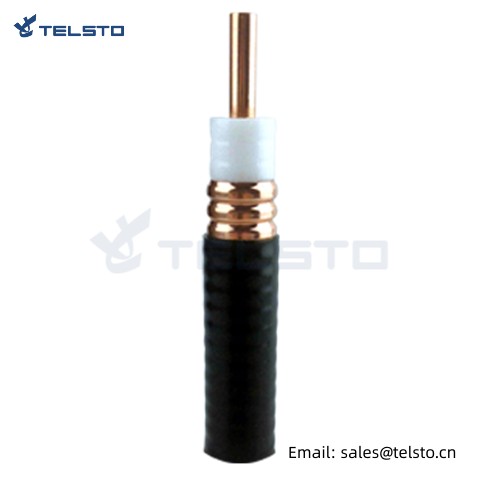
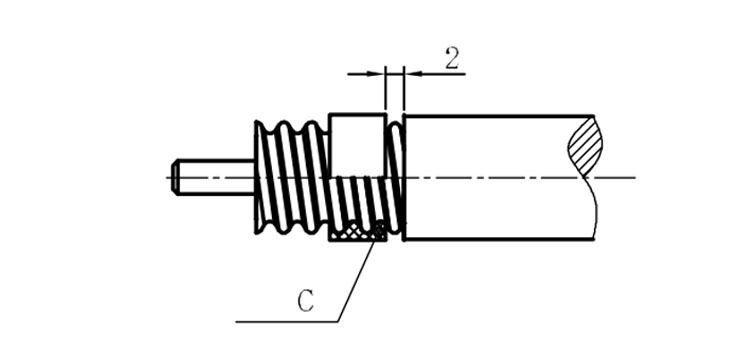
Stripping dimensions is as shown by diagram ( Fig2 ), attention should be paid while stripping:
1. The end surface of inner conductor should be chamfered.
2. Remove impurities such as copper scale and burr on the end surface of the cable.
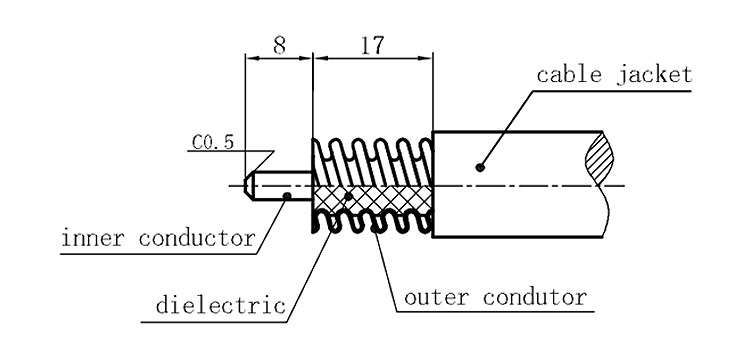
Assembling the sealing part: Screw the sealing part in along the outer conductor of the cable as shown by the diagram ( Fig3).
Assembling the back nut (Fig3).
Combine the front and back nut by screwing as shown by diagram ( Figs( 5)
1. Before screwing, smear a layer of lubricating grease on the o-ring.
2. Keep the back nut and the cable motionless, Screw on main shell body on back shell body. Screw down main shell body of back shell body using monkey wrench. Assembling is finished.