Email: sales@telsto.cn
 Telephone: 86-021-6221 2832
 LinkedIn
 Youtube
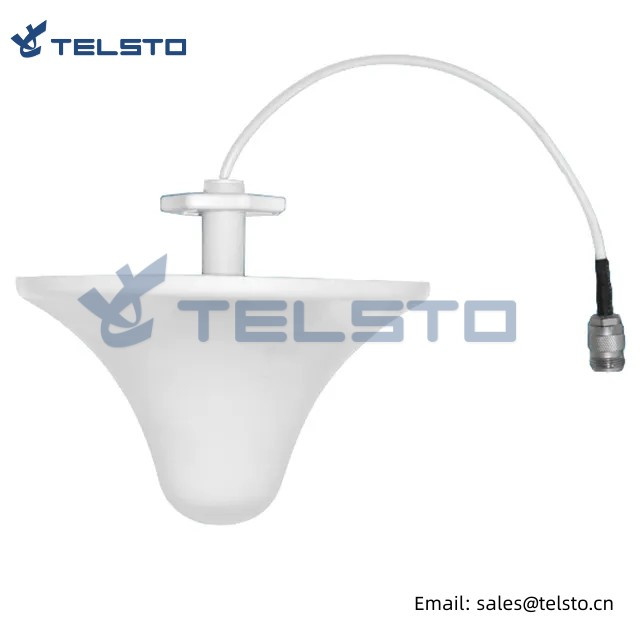


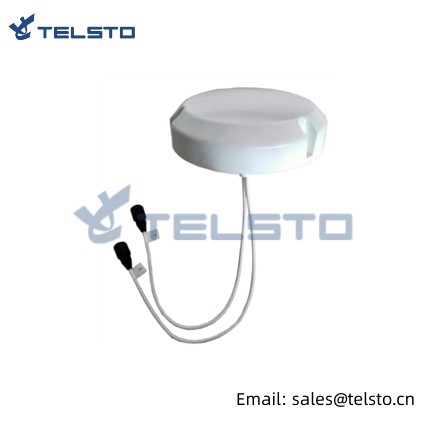
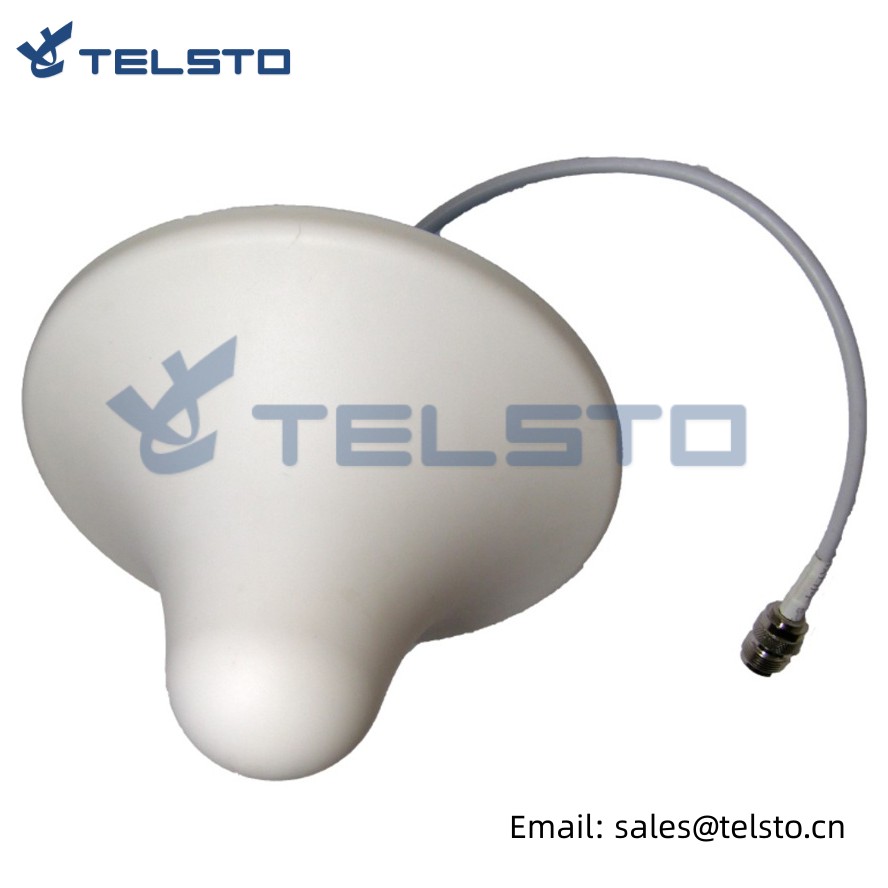
Indoor Omni- directional Ceiling Antenna
Feature: Exquisite appearance Suitable for ordinary ceiling mounting Wide frequency band, low standing wave, strong anti-interference ability
Application: Indoor omni- directional coverage GSM/ CDMA/ PCS/ 3G/ 4G/ LTE/ WLAN system
| Mechanical Specifications | |
| Dimensions | 204X115mm |
| Weight | 0.5Kg |
| Radiator Material | Silver-plated Brass |
| Radome Material | ABS |
| Radome Color | Ivory-white |
| Operational Humidity | < 95% |
| Operating temperature | -40~55 ℃ |
| Electrical Specifications | |
| Frequency Range | 806-960MHz 1710~2500MHz 2500-2700MHz |
| Gain | 2dBi±0.5 4dBi±1 4dBi ±1 |
| VSWR | ≤1.4 |
| Polarization | Vertical |
| Roundness of pattern, dB | ±1 ±1 ±1.5 |
| Vertical beam width | 85 55 50 |
| IMD3, dBc @+ 33dBm | ≤-140 |
| Input Impedance | 50Ω |
| Max Input Power | 50W |
| Connector | N Female |
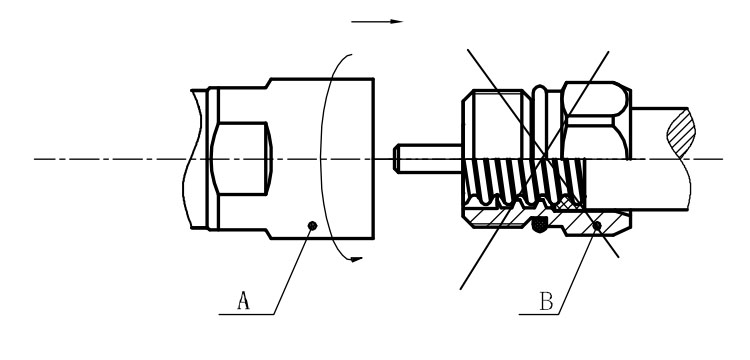
Installation Instructions of N or 7 / 16 or 4310 1 / 2″ super flexible cable
Structure of connector: ( Fig1 )
A. front nut
B. back nut
C. gasket

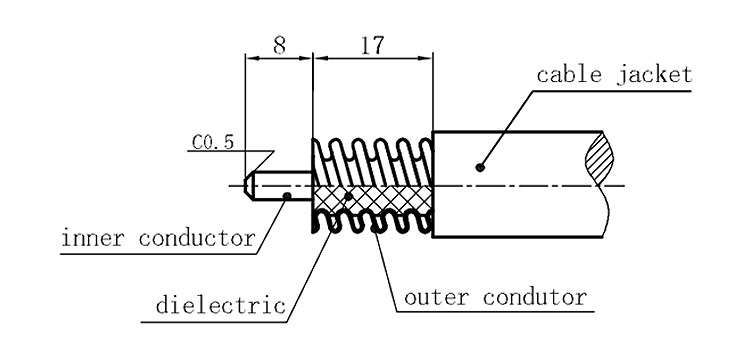
Stripping dimensions is as shown by diagram ( Fig2 ), attention should be paid while stripping:
1. The end surface of inner conductor should be chamfered.
2. Remove impurities such as copper scale and burr on the end surface of the cable.
Assembling the sealing part: Screw the sealing part in along the outer conductor of the cable as shown by the diagram ( Fig3).
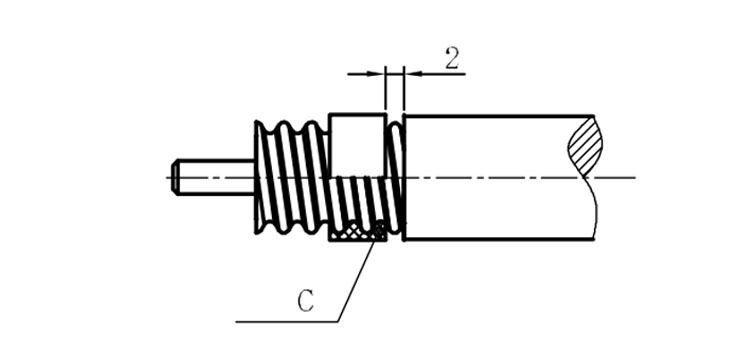
Assembling the back nut (Fig3).
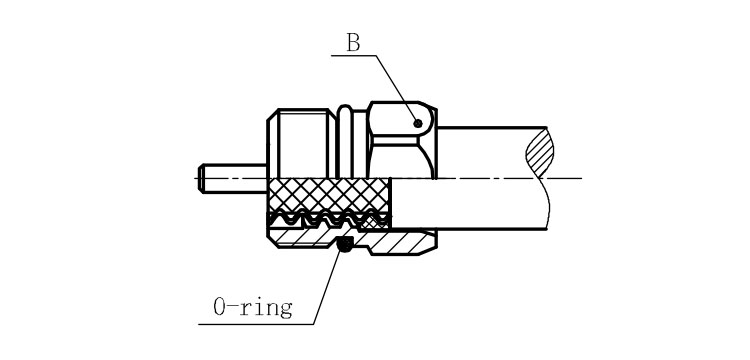
Combine the front and back nut by screwing as shown by diagram ( Figs( 5)
1. Before screwing, smear a layer of lubricating grease on the o-ring.
2. Keep the back nut and the cable motionless, Screw on main shell body on back shell body. Screw down main shell body of back shell body using monkey wrench. Assembling is finished.